
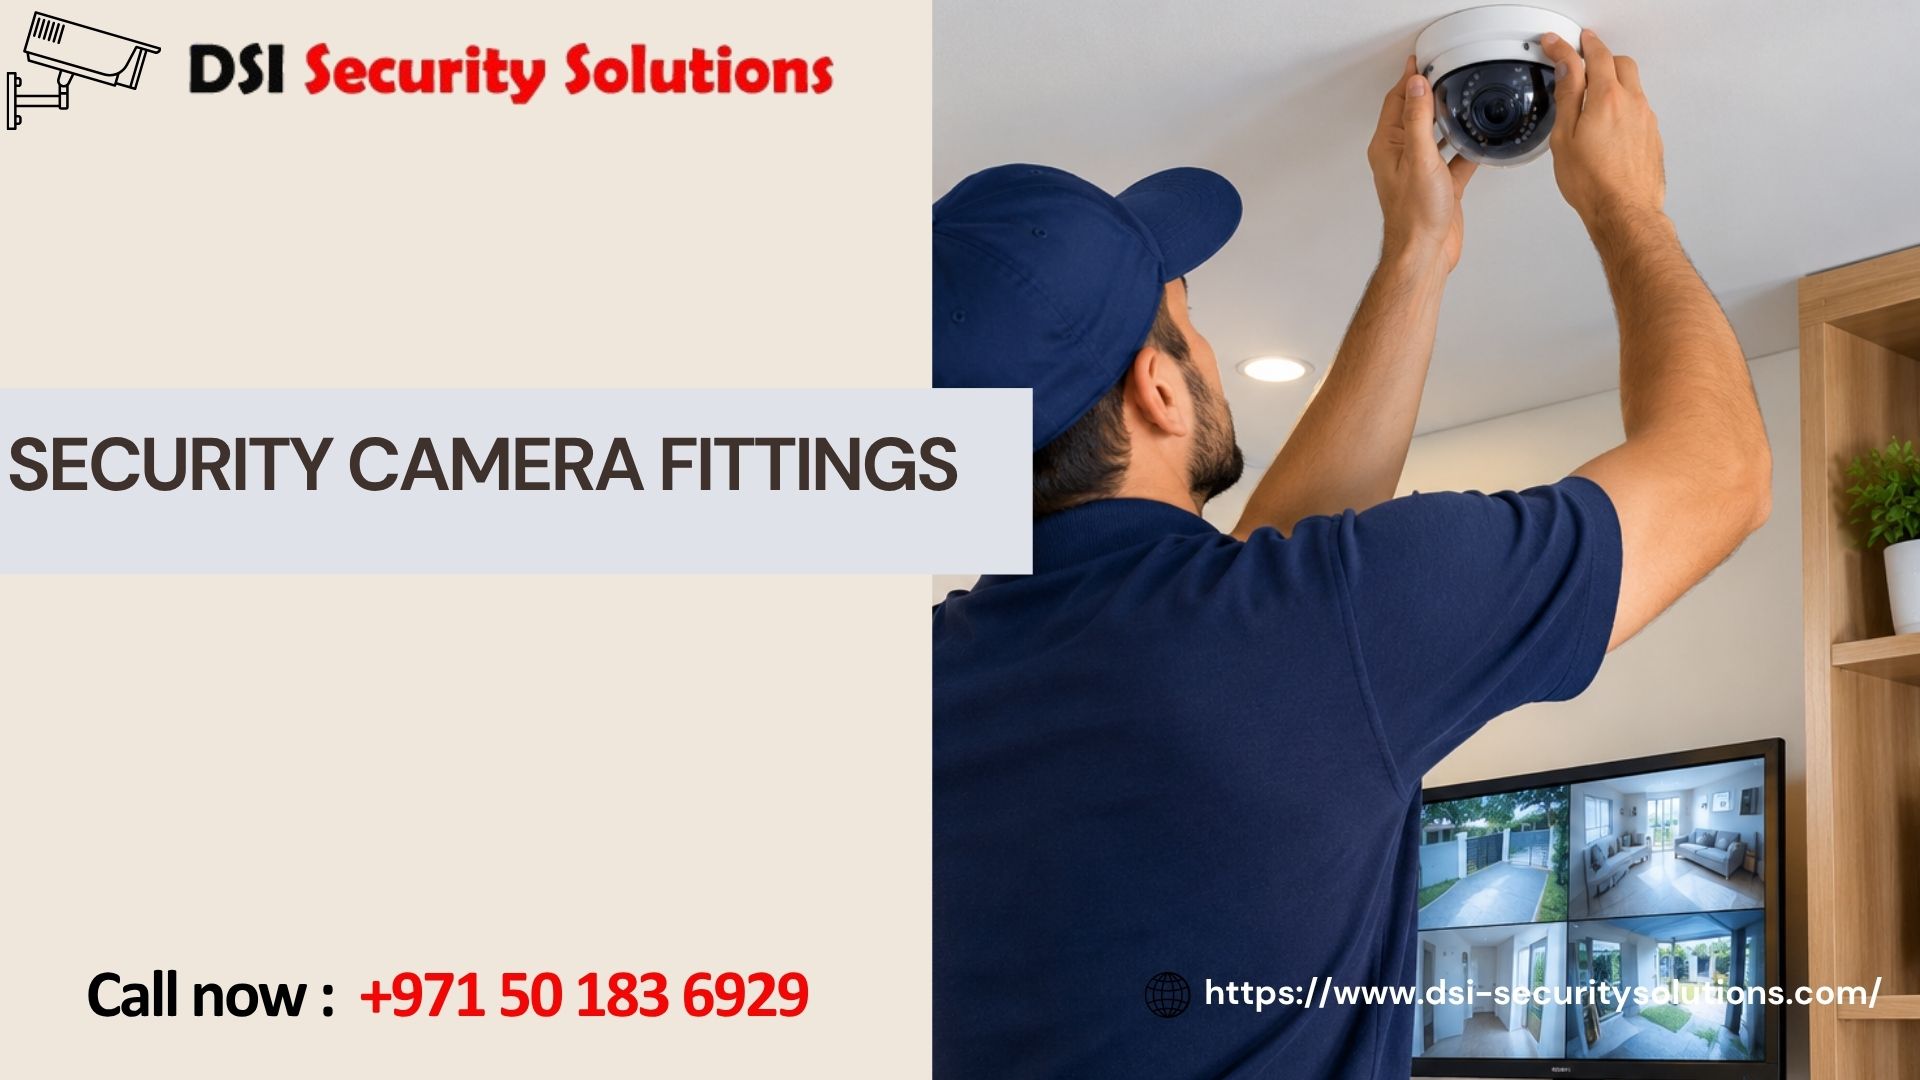
Security Camera Fittings: Why Proper Mounting Matters as Much as the Camera Itself
When people shop for a surveillance system, most of the attention goes to the camera itself, resolution, night vision, brand reputation. But the quality of your security camera fittings, the brackets, mounts, housings, and hardware used to physically install the camera, plays a much bigger role in system performance than most homeowners and business owners realize. A high-end camera mounted with the wrong bracket, in the wrong position, or with poor weatherproofing can fail to deliver the coverage and reliability you’re paying for.
At DSI Security Solutions, we treat camera fitting as a core part of every installation, not an afterthought. This guide explains what security camera fittings actually involve, the different types available, and why correct mounting makes the difference between a system that performs reliably for years and one that causes ongoing frustration.
What Are Security Camera Fittings?
Security camera fittings refer to the physical hardware and mounting components used to attach a camera securely to a wall, ceiling, pole, or other surface. This includes:
- Mounting brackets — the base hardware that anchors the camera to a wall or ceiling surface
- Junction boxes — housings that conceal cabling and connections at the mounting point
- Camera housings — protective casings that shield the camera from weather, dust, and tampering
- Mounting arms and poles — extended hardware used when a camera needs to be positioned away from a wall or building structure
- Screws, anchors, and sealants — the smaller components that keep the fitting secure and weatherproof over time
Choosing the right combination of these components depends on the camera type, the surface it’s being mounted on, and the environmental conditions it will face.
Types of Security Camera Mounts and Fittings
Different cameras and locations call for different fitting types. Here are the most common options we work with.
Wall Mounts
The most common fitting type, wall mounts attach directly to an exterior or interior wall surface. They work well for most dome and bullet cameras covering entrances, driveways, and building perimeters.
Ceiling Mounts
Ideal for indoor spaces like retail stores, offices, and hallways, ceiling mounts position cameras for a wider overhead view, useful for monitoring foot traffic and large open areas.
Corner Mounts
Designed for cameras placed at building corners, these fittings allow for a wider field of view by angling the camera to cover two directions simultaneously.
Pole Mounts
Used in parking lots, warehouses, and open outdoor areas where no wall or ceiling structure is available nearby, pole mounts allow cameras to be positioned at optimal height and angle.
Junction Box Fittings
These conceal wiring and connections at the mounting point, protecting cables from weather exposure and tampering while giving the installation a cleaner, more professional appearance.
Recessed and Flush Mounts
Common in modern commercial buildings, these fittings sit flush with the ceiling or wall surface for a discreet, low-profile appearance, often used for indoor dome cameras.
Why Proper Camera Fitting Matters
It’s easy to underestimate how much the fitting itself affects overall system performance, but poor mounting can undermine even the best camera equipment.
Stability and Vibration Resistance
A loosely fitted camera can shift over time due to wind, vibration, or thermal expansion in extreme heat, gradually throwing off its intended coverage area without anyone noticing until footage is needed.
Weatherproofing
Outdoor camera fittings need proper sealing around cable entry points and housing joints to prevent dust, moisture, and heat damage, particularly important in climates with intense sun exposure and occasional heavy rain.
Cable Protection
Exposed or poorly secured cabling is vulnerable to damage, tampering, and pest interference. Proper junction box fittings and conduit routing protect wiring and extend the system’s operational lifespan.
Tamper Resistance
Correctly fitted housings and anti-tamper screws make it more difficult for anyone to disable or redirect a camera, an important consideration for ground-level installations in high-traffic areas.
Optimal Field of View
Even a high-resolution camera underperforms if it’s mounted at the wrong height or angle. Proper fitting ensures the camera’s field of view actually captures the intended area, entrances, walkways, or parking spaces, without unnecessary blind spots.
Common Camera Fitting Mistakes to Avoid
We frequently get called to fix issues caused by poorly fitted cameras from previous installations. The most common problems include:
- Incorrect mounting height — cameras placed too high lose facial detail; too low, they’re vulnerable to tampering
- Loose or improper anchoring — using the wrong screws or anchors for the wall material, leading to instability over time
- Poor cable sealing — exposed cable entry points that allow moisture damage during rain or humidity
- Ignoring sun glare and reflections — cameras aimed directly into sunlight or reflective surfaces, resulting in washed-out or unusable footage
- Mismatched housing for the environment — using an indoor-rated fitting for an outdoor location, leading to premature equipment failure
These mistakes are common with DIY installations or general contractors unfamiliar with security-specific fitting requirements, and they often aren’t obvious until footage quality becomes a problem after the fact.
Fittings for Different Camera Types
The right fitting also depends on the camera style itself:
Dome Cameras
Typically ceiling or wall-mounted with a low-profile housing, popular for indoor spaces due to their discreet appearance and tamper-resistant design.
Bullet Cameras
Usually wall-mounted with an adjustable bracket, favored for outdoor use because their visible design also acts as a deterrent.
PTZ (Pan-Tilt-Zoom) Cameras
Require sturdier mounting hardware capable of supporting the camera’s moving mechanism, often installed on poles or reinforced wall brackets in large open areas.
Turret Cameras
Ball-and-socket style fittings that allow flexible angle adjustment, commonly used for both indoor and outdoor applications where precise aiming is needed.
DIY vs. Professional Camera Fitting
Many camera kits come with basic mounting hardware, but there’s a meaningful difference between a functional fitting and a properly engineered one. Professional fitting services typically include:
- Assessment of wall or ceiling material to determine the correct anchoring method
- Selection of weatherproof or tamper-resistant housing appropriate to the location
- Proper cable routing and sealing to prevent water damage and pest access
- Precise angle adjustment to eliminate blind spots and glare issues
- Secure mounting that accounts for wind load and structural vibration over time
While a basic indoor camera might be manageable as a DIY project, outdoor installations, high-mounting locations, and commercial-grade cameras generally benefit significantly from professional fitting expertise.
Our Security Camera Fitting Process
When you choose DSI Security Solutions for camera fitting and installation, here’s what to expect:
- Site assessment — we evaluate wall and ceiling materials, environmental exposure, and ideal camera positioning
- Fitting selection — we choose the appropriate mount, bracket, and housing based on the camera type and location
- Secure installation — our technicians anchor and seal each fitting to withstand weather, vibration, and tampering
- Cable management — wiring is routed and concealed through proper conduits and junction boxes for a clean, protected finish
- Angle testing and adjustment — we fine-tune each camera’s position to eliminate blind spots and glare before finalizing the installation
Every fitting is completed with long-term durability in mind, not just a quick, functional setup.
Maintaining Your Security Camera Fittings Over Time
Even a well-installed fitting benefits from periodic checks. We recommend:
- Inspecting housings and seals annually for cracking or weather damage
- Checking that mounting brackets remain tightly secured, especially after storms or extreme heat periods
- Clearing dust and debris from camera housings to maintain clear image quality
- Verifying cable connections at junction boxes for signs of corrosion or wear
Our maintenance plans include these checks as part of routine service, helping extend the lifespan of both your fittings and your overall camera system.
Get Professional Security Camera Fitting Services
Whether you’re installing a new surveillance system or dealing with unstable, poorly fitted cameras from a previous installation, DSI Security Solutions provides expert camera fitting services built to last. Contact us today for a free consultation and a custom quote based on your property’s specific mounting needs.
Frequently Asked Questions
What’s the difference between a camera mount and a camera fitting?
The terms are often used interchangeably, but “fitting” typically refers to the entire mounting setup, including brackets, housings, junction boxes, and sealing, while “mount” more specifically refers to the bracket or arm attaching the camera to a surface.
Can any camera be fitted to any wall or ceiling?
Not always. The mounting method depends on the wall or ceiling material, brick, concrete, drywall, or metal siding all require different anchoring approaches for a secure, long-lasting fit.
Do outdoor cameras need special fittings?
Yes. Outdoor fittings require weatherproof housings and properly sealed cable entry points to protect against rain, dust, and heat exposure, unlike standard indoor mounting hardware.
How do I know if my camera fitting is loose or failing?
Signs include a camera that has visibly shifted position, blurry or shaky footage, or visible cracks around the housing or mounting bracket. If you notice any of these signs, it’s worth having the fitting inspected before it fails completely.
Can existing camera fittings be reused when upgrading to new cameras?
Sometimes, if the new camera is a similar size and weight and the existing fitting is still structurally sound. However, mismatched fittings can lead to instability, so it’s best to have a professional assess compatibility before reusing old hardware.
How long does professional camera fitting take?
A single camera fitting typically takes under an hour, while full system installations with multiple cameras, cable routing, and junction box setup can take several hours to a full day depending on complexity.
Do camera fittings require regular maintenance?
Yes. Periodic checks help catch loose brackets, weather damage, or cable wear before they lead to camera failure or footage gaps. We recommend annual inspections as part of a broader maintenance plan.